


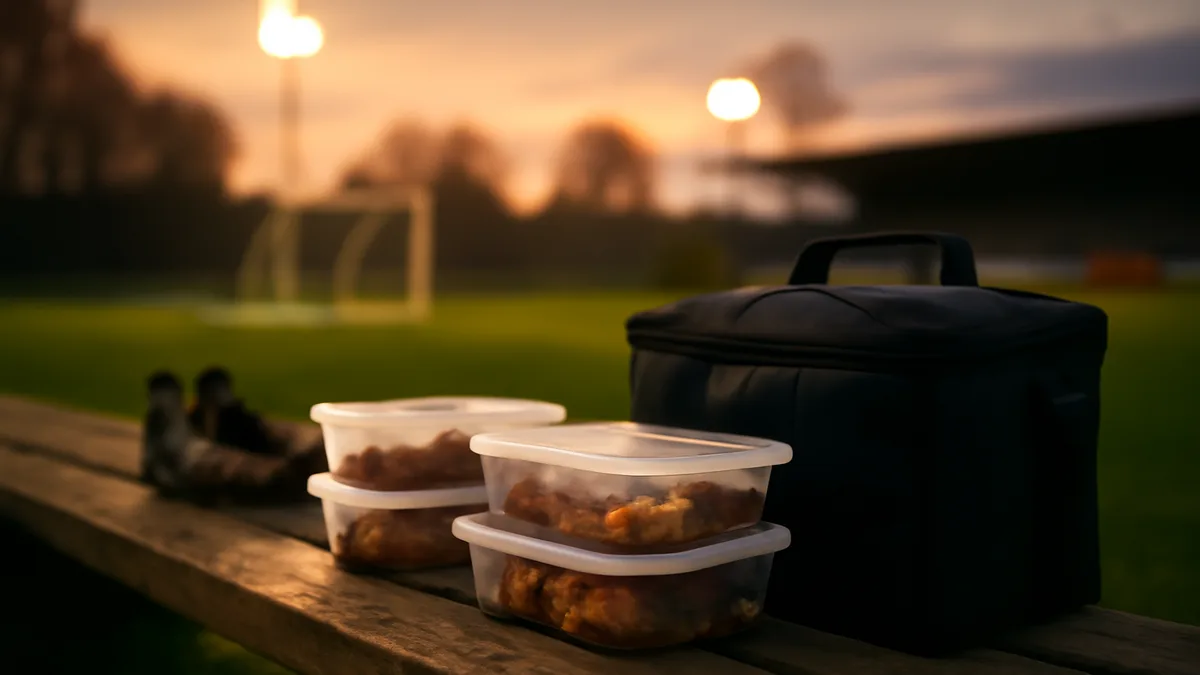
Picking meal prep containers for a week of training turns on three things: keeping food safe and fresh, matching portions to the training load, and moving meals around without spills or freezer damage. The right choices save time, prevent waste and keep recovery nutrition consistent across five training days.
This guide treats containers and their everyday kit as a system: the containers themselves, lids and seals, transport (cool bags or boxes) and how many portions to make. Use the checklist below to decide what to buy and how to pack. For official guidance on safe storage and temperatures, check the USDA advice on food safety and storage and the FDA guidance on food contact substances for plastics and coatings.
The priority checklist for a five-day training week
The following sequence orders what matters most for athletes who prepare five separate meals for training days. Each item stands alone: the heading gives the answer, and the two or three sentences that follow explain how to apply it when buying or packing.
Material choice: glass or rigid plastic
Pick glass for durability with heat and for foods that will be reheated, or pick rigid BPA-free plastic for lighter weight and lower breakage risk. Glass tolerates repeated heating and freezing without staining or retaining odours; many athletes prefer it for protein- and sauce-heavy meals. Rigid plastics are easier to carry on bikes or flights when weight and breakage are a concern, but check the manufacturer’s statements on microwave and freezer use.
Seal and lid system: true leakproof closures
Choose containers with a robust gasket and secure locking clips when bringing wet or saucy items to practice. A leaking lid ruins multiple meals and a kit bag; silicone gaskets and multiple locks reduce that risk. For foods that must stay dry or when layering protein over grains, a reliable seal is the single most important feature after material.
Portioning strategy: five main meals plus extras
Plan one main container per training day, then add a small snack container and a reusable sauce pot for each day as needed. Athletes often need different macro splits for training versus rest days, so plan containers around meal function — a larger, divided box for a main meal and small pots for dressings or supplements. Label containers by day to avoid confusion during busy mornings.
Stackability and footprint: maximise fridge real estate
Buy containers designed to stack neatly and sit flush in a fridge or cooler to avoid wasted space. Square or rectangular bases use space far better than round ones when storing a week of meals. Stackable lids that interlock keep a packed cooler or fridge organised and reduce the chance of spilling when moving multiple meals at once.
Freezer and microwave compatibility
Ensure containers are both freezer- and microwave-safe if meals will be made in bulk and reheated each day. Freezer-safe materials resist cracking when food expands and help preserve texture; microwave-safe labels indicate whether lids should be vented before heating. If a container is microwave-safe but the lid is not, plan to remove lids before reheating to avoid warping or pressure build-up.
Transport solution: insulated bags and cooling elements
Match the container system to an insulated bag and a cooling solution capable of keeping meals below safe-temperature thresholds for the hours between packing and eating. Hard coolers hold temperature longer but are bulkier; thin insulated bags are more portable but need frozen ice packs to be reliable. Choose a bag large enough for all five meals and any extras without compressing lids or seals.
Cleaning and durability: dishwasher-safe and scratch-resistant
Prioritise dishwasher-safe containers and lids if time is limited and meals are prepared in bulk. Durable materials resist staining and odours after repeated use; textured or soft plastics can trap oils and smell over time. Replace seals periodically if they show wear; a worn gasket is the usual cause of new leaks in otherwise sound containers.
Comparing container types
A table helps see trade-offs at a glance. These categories are general — individual products vary — but they compress the main differences buyers must weigh when choosing kit for a week of meal prep.
| Type | Durability | Microwave/Freezer | Weight/Portability | Leak Resistance |
|---|---|---|---|---|
| Glass | High: resists staining and odours | Generally microwave and freezer safe | Heavier, more fragile in transit | High with gasket lids |
| Rigid plastic (BPA-free) | Moderate: can scratch and stain over time | Often microwave/freezer safe; check label | Lightweight and portable | Variable—depends on lid design |
| Silicone/Collapsible | Good tear resistance, less heat tolerant | Some are microwave/freezer safe; confirm | Very lightweight and packs small | Often not fully rigid; less effective for liquids |
How to decide: quick decision rules
Turn the checklist into a final buy decision by answering three quick questions before spending money: how many meals need reheating each week, how the meals will travel to and from training, and how much fridge/freezer space is available at home. If most meals will be reheated, favour glass or microwave-safe rigid plastic; if transit is rough or weight-critical, choose lighter rigid plastic or silicone options. Balance the number of containers against time available for cleaning — a day with five meals means many lid surfaces to wash, so dishwasher-safe parts are often worth the premium.
Also consider the sport’s demands. Endurance athletes often prep larger carbohydrate-heavy meals and may prefer deeper, single-compartment containers. Strength athletes who separate protein, carbs and vegetables may find divided boxes or a combination of main plus small pots more practical. Finally, think about seasonal needs: hot-weather travel increases the importance of a reliable insulated bag and multiple frozen ice packs to keep food safe between packing and eating.
Where people go wrong
Buyers commonly focus on container count and neglect lid quality, which is the usual failure point in real use. A week of meals turns messy if a single lid leaks in a cooler; always test lids under pressure at home before committing to a transport routine. Another frequent mistake is assuming that a microwave-safe label applies to the lid; many lids must be removed or vented when microwaving.
Another error is buying containers that are difficult to stack or that have odd shapes. That decision creates wasted fridge space and makes carrying a week’s worth of meals awkward. Finally, underestimating cooling needs for hot days or long commutes is a safety risk — combine a competent insulated bag with at least one frozen ice pack per row of meals to keep temperatures down during transit.
What to do next
Decide the system first: pick the material you favour, a seal type, and an insulated transport solution. Then plan quantities: five main containers, five small sauce/snack pots and a bag that fits everything without compressing lids. Test the kit for a single week before buying more or switching materials; pack, freeze or chill, transport in the bag used for training and rehearse reheating routines to confirm everything functions in real conditions.
If the kit works on a test week, buy any duplicate pieces needed to keep the laundry cycle manageable and to allow one set to be in the dishwasher while another set is in use. That approach reduces stress on training days and quickly converts a meal-prep habit into a reliable routine.
Frequently asked questions
How many containers does an athlete need?
For five training days plan one main meal container per day, plus a small container for snacks or sauces for each meal. Having a duplicate set speeds turnarounds when one set is in the dishwasher.
Are glass containers better than plastic for athletes?
Glass is better for repeated reheating and resists staining and odours, while rigid BPA-free plastic is lighter and less fragile for travel. Choose glass if reheating and food integrity matter most; choose rigid plastic for weight-sensitive transport.
How should meals be kept cold during long commutes?
Use an insulated bag with frozen ice packs sized for the bag and the number of meals, and pack containers tightly to reduce air gaps. For multi-hour commutes, add extra cooling capacity and avoid soft containers that compress and reduce ice efficiency.
