




Replacing boots is a decision that should be practical, not emotional. The choice turns on performance loss, injury risk and whether a repair restores the original function.
This guide gives a ranked checklist to use on the pitch or at home, an inspection checklist to carry in a bag, a quick comparison of repair versus replace, and common mistakes that lead players to keep boots too long.
Six priority checks before retiring boots
These six checks are ordered by how quickly they reduce performance or increase injury risk. Run through them in sequence after a hard session or at the end of a season. Each heading names the single issue to judge; the first sentence states the rule, then explains what to look for and why it matters.
Soleplate flex
Excessive flex in the soleplate that wasn’t part of the original design is a signal to replace. A soleplate meant to be stiff will lose energy return and traction when it cracks or bends repeatedly; in many modern boots the plate also houses molded structures for studs and torsional support, and once the plate fractures or permanently deforms the boot no longer controls foot motion reliably.
Stud wear and profile
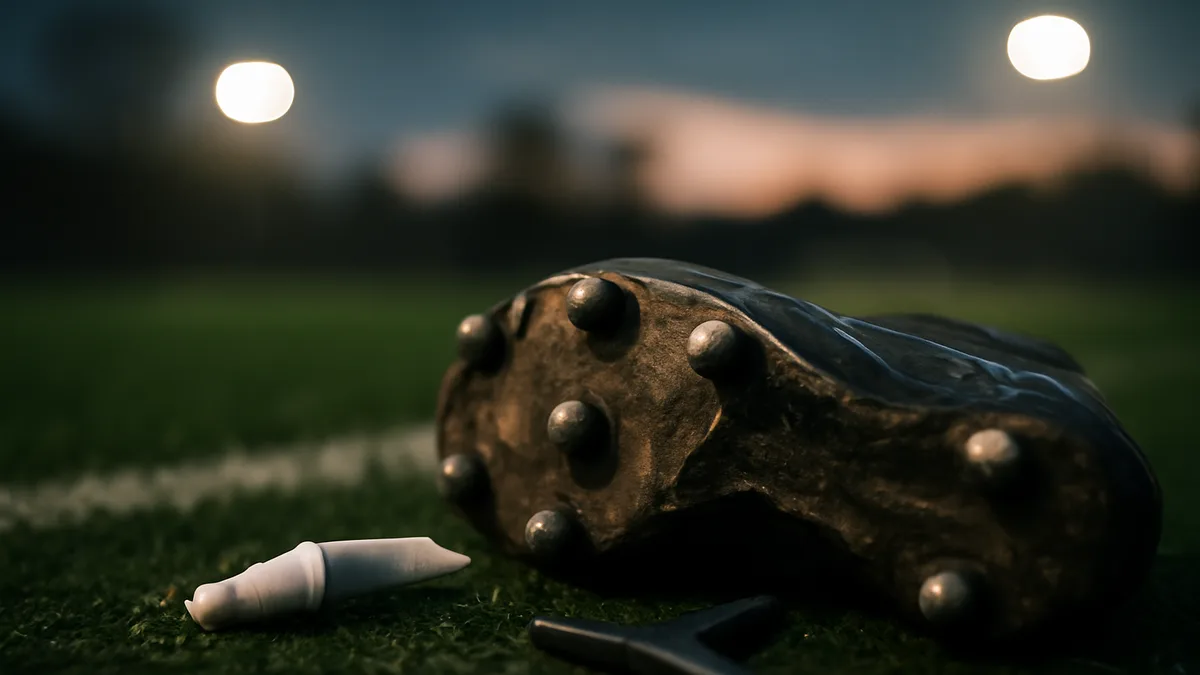
Worn or rounded studs that no longer bite the surface reduce grip and increase slip risk. Check for flattened stud faces, uneven wear between left and right, and missing studs on screw-in designs; on artificial surfaces the sole profile can abrade so the original stud pattern no longer engages the turf properly, changing how the foot plants and pivots.
Upper cracking and material fatigue
Cracks, deep creases through synthetic coatings, or split seams on the upper are a replacement trigger when they let moisture, debris or sharp impacts reach the foot. Small scuffs are cosmetic; structural splits across the vamp, along stitch lines, or where overlays bond to the last reduce the boot’s ability to hold the foot and can alter touch on the ball.
Insole collapse and cushioning loss
A compressed or split insole that no longer returns shape is a sign to retire the boot for heavy use. Insoles that sag let the foot sit closer to the soleplate, which changes pressure distribution and can cause hotspots, blisters or reduced shock absorption; removable insoles can sometimes be replaced, but if the midfoot support has lost shape the whole last is compromised.
Heel counter failure
When the built-in heel cup or counter no longer holds the heel firmly, stability and protection are lost. A soft or delaminated heel counter allows excessive rear-foot movement during cutting and sprinting, which raises the risk of blisters and contributes to ankle instability.
Delamination and glued joints
Separation between outsole and upper, or peeling where multiple layers are bonded, is a practical end-of-life sign when the glue won’t hold under wet or cold conditions. Temporary re-glues sometimes work short-term, but recurrent delamination means the structural bond has failed and performance will continue to decline.
Inspection checklist to keep with the kit bag
Use this quick checklist before a match or training session. It’s short enough to do in the changing room and specific enough that a teammate can carry it out for someone who needs help.
- Plate check: Press the soleplate with two hands to feel for cracks, soft spots, or unusual bending that wasn’t present when the boots were new.
- Stud faces: Inspect each stud for rounding or flat spots and compare left to right for uneven wear.
- Upper seams: Run fingers along seams and overlays to find splits or detachment where stitching has frayed.
- Insole feel: Remove the insole and press it; if it stays indented or creased, note cushioning loss.
- Heel hold: Put boot on and test the heel by sliding the foot forward; excessive movement means heel counter weakness.
- Glue lines: Look for peeling at the outsole bound to the upper; lift any loose edge to check adhesion.
Choosing repair versus replacement
Decide by comparing how much function is restored versus how much remains degraded and how much continued risk the boot poses. Some fixes restore near-original function; others are temporary and mask a declining platform. The table below helps compare typical choices on the same axes.
| Option | Performance restored | Longevity after fix | Injury risk change |
|---|---|---|---|
| Re-glue outsole | Partial, depends on plate integrity | Short to medium | May remain elevated if plate is weak |
| Replace insole | High for cushioning and comfort | Medium | Usually reduced for impact-related issues |
| Patch upper | Partial, mostly keeps water out | Short | Little change unless structural seams were fixed |
| Buy new boots | Full (new plate, studs, upper) | Long | Lowest, when sized correctly |
Use repair when a single component has failed but the plate and last remain sound. Prefer replacement when multiple components (plate, heel counter, insole) have degraded or when repairs are repeatedly needed; repeated fixes add cost and usually leave some performance deficit.
Where players go wrong
Players keep boots too long for three common reasons: emotional attachment to a favourite pair, misunderstanding what a cosmetic fault means, and treating fit problems as tolerable. A boot that looks intact can hide stiffness loss in the plate; conversely, a scuffed upper can be perfectly serviceable. Buying time by swapping insoles or re-gluing an outsole is sensible occasionally, but relying on cosmetic fixes to mask structural decline increases injury risk and reduces effectiveness during high-intensity actions.
Another frequent mistake is ignoring asymmetry. Many players wear one boot harder than the other because of footedness or striker versus defender drills; when left and right differ, the body compensates in movement patterns and the risk of overuse injury rises. Finally, using a pair beyond its intended surface accelerates wear: boots built for soft, natural turf erode quickly on abrasive artificial surfaces and that mismatch is the kind of avoidable error that shortens safe service life.
What to do next
Run the six priority checks and the inspection checklist after the next full session. If more than two priority checks fail, plan to replace rather than repair. If only one component is failing and the soleplate, heel counter and fit remain good, schedule a repair or a targeted part replacement.
When buying replacements, try boots on with the same socks and insoles normally worn, and test heel hold and forefoot width in short drills before committing. Keep the inspection checklist in the kit bag and record when a new pair enters service so it’s possible to spot accelerated wear patterns and adjust for playing surface, position or training load.
One practical note: the term football boot appears here because the guidance applies across stud types and upper materials. For standards and labelling that sometimes influence replacement cycles, consult the FIFA Quality Programme when checking claims about stud designs and materials.
Frequently asked questions
How often should boots be inspected?
Inspect boots after any heavy session and at the end of every month of regular use. Frequent checks catch soleplate cracks and stud wear early, making repair or replacement decisions easier.
Can insoles alone fix worn boots?
Replacing insoles restores cushioning and comfort but does not fix a weakened soleplate or delaminated upper. Use new insoles when comfort is the only issue; replace the boot if structural parts are failing.
Are re-glue repairs reliable long term?
Re-gluing can restore adhesion short-term but is unlikely to return full structural integrity if the bonded layers have been compromised. Treat repeated delamination as a reason to replace rather than depend on further repairs.


